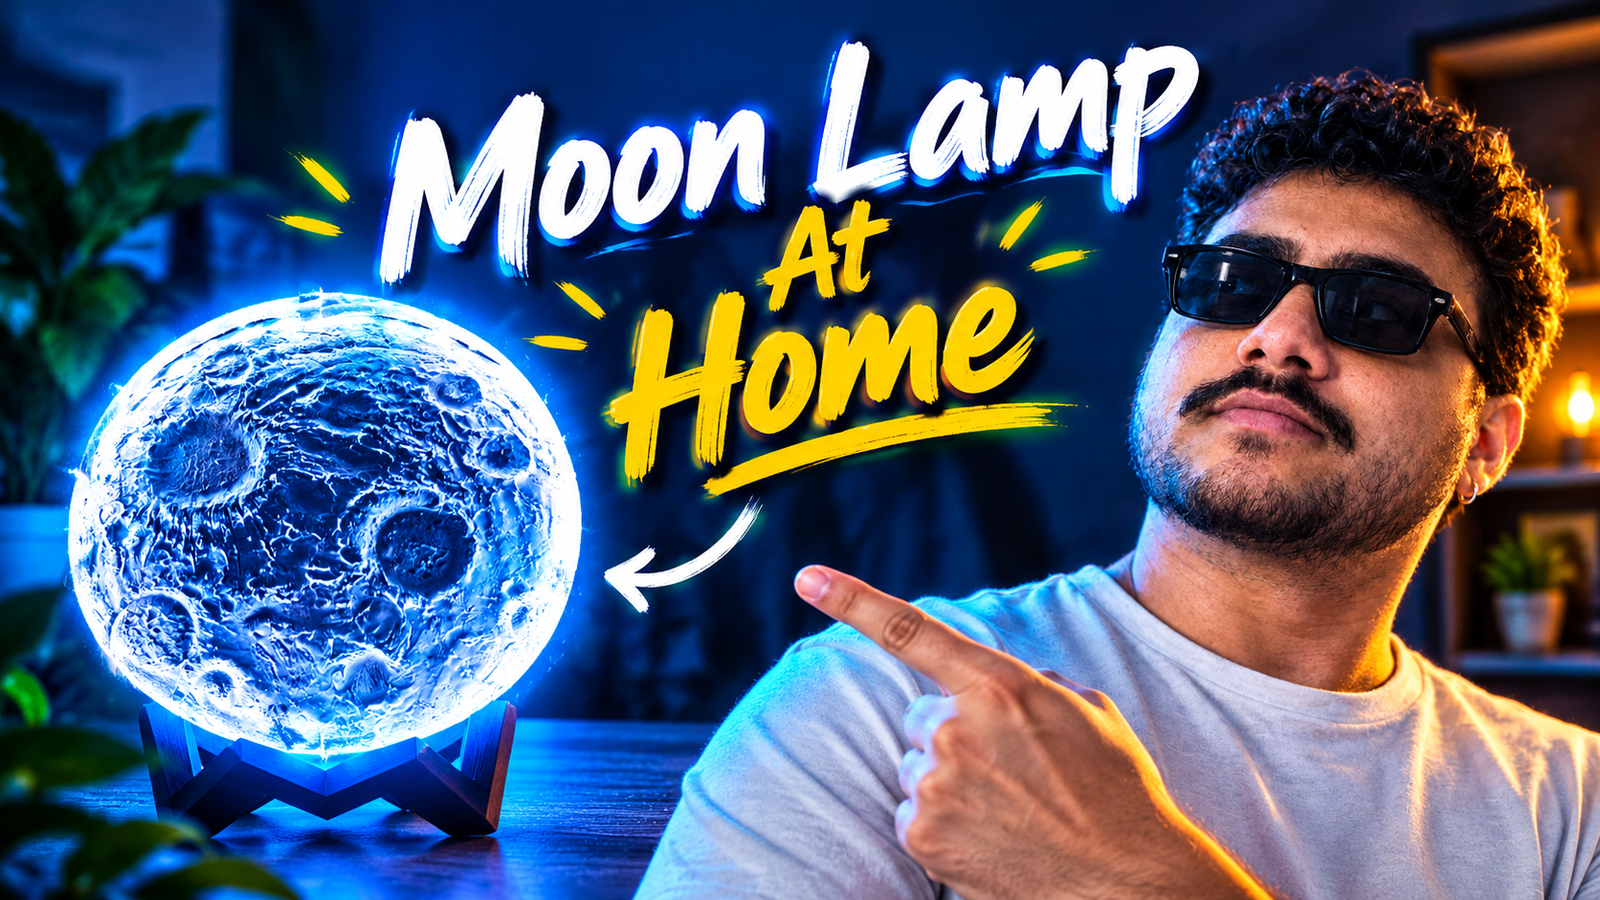
Making a beautiful moon lamp at home is a fun and creative DIY project. With a few simple materials, such as cardboard, LED strip lights, paint, putty, and glue, you can create a realistic moon lamp that looks great in your bedroom, living room, or study.
This homemade moon lamp is an affordable way to create unique room decor while customising the size, texture, and lighting according to your preferences.
Materials Required to Make a Moon Lamp at Home
Before starting your DIY moon lamp project, collect the following materials:
1. Cardboard: Used to create the base and structure of the moon lamp.
2. LED Strip Light: Provides illumination and creates the glowing moon effect.
3. White Paint: Gives the moon its natural base colour.
4. Grey Paint: Adds realistic shadows and details to the moon’s surface.
5. Putty: Creates the moon’s uneven surface and crater-like texture.
6. Glue: Holds the cardboard pieces together and helps secure the structure.
7. Paintbrush: Helps apply paint and create surface details.
8. Pencil and Scissors: Used to mark and cut the cardboard.
Step-by-Step Guide to Making a Moon Lamp
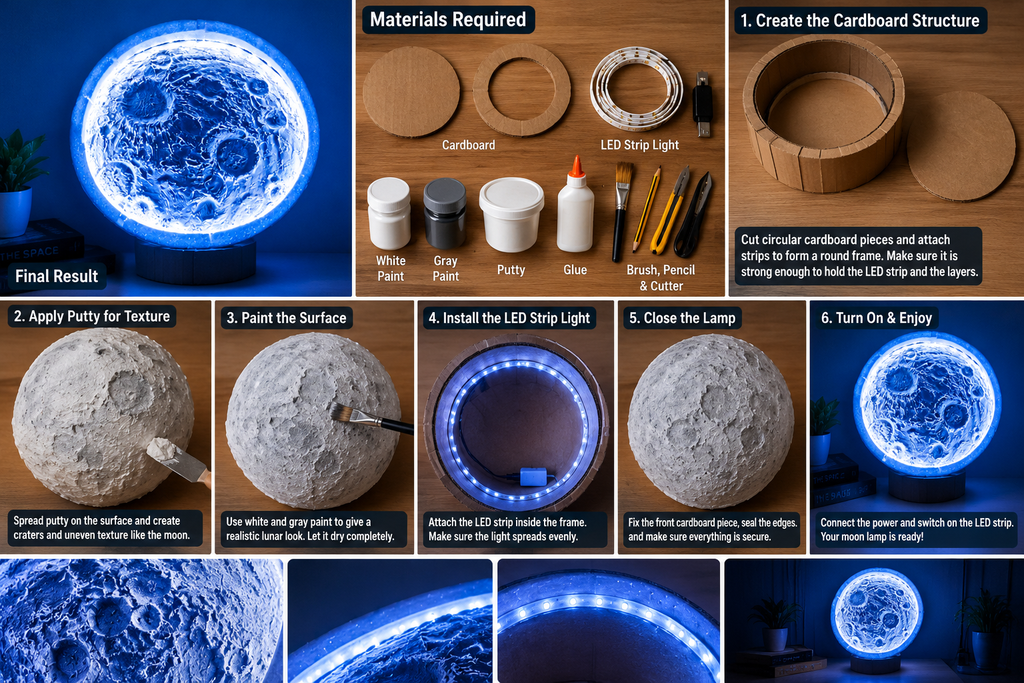
Step 1: Create the Moon Shape Using Cardboard
First, take a piece of cardboard and draw a large circle with a pencil, using a round object as a guide.
Cut out the circle carefully. Prepare another circular piece of cardboard if you want to create a hollow structure for the lighting.
Use additional cardboard strips to connect the circular pieces and form the sides of the moon lamp. Apply glue to secure the pieces and allow the structure to dry.
Make sure the cardboard structure is firm enough to support the putty and paint.
Step 2: Apply Putty to Create the Moon’s Texture
Once the cardboard structure is ready, apply a thin layer of putty over its outer surface.
Use your fingers or a suitable small tool to create irregular patterns, small depressions, and raised areas that resemble the moon’s craters.
Avoid making the surface perfectly smooth. The moon’s natural appearance comes from its uneven terrain, so variations in texture will help your lamp look more realistic.
Allow the putty to dry completely according to the manufacturer’s instructions before moving to the next step.
Tip: Create craters in different sizes and arrange them irregularly to achieve a more natural lunar appearance.
Step 3: Paint the Moon’s Surface
After the putty has dried, paint the entire surface with white paint.
Once the base coat is dry, use light-grey and dark-grey paint to add shadows around the craters and textured areas.
Apply the darker shades lightly to create depth without covering the entire white surface.
You can also use a sponge to dab small amounts of grey paint onto the moon, creating a more realistic finish.
Allow the paint to dry completely before installing the lighting.
Step 4: Install the LED Strip Light
Take your LED strip light and carefully attach it to the inside or back of the cardboard structure, depending on your design.
Position the strip so that the light spreads evenly and creates an attractive glowing effect.
Secure the strip using its adhesive backing or a mounting method recommended by the manufacturer. Avoid covering the LEDs with putty or other materials that could trap heat.
Read More: Best Home Theatre Projector 4K: Complete Home Cinema Projector Guide
Keep the power connection accessible and follow the manufacturer’s instructions for installation.
Safety tip: Use a low-voltage LED strip with a compatible power supply. Keep the strip, wiring, and electrical connections away from wet putty and paint. Do not leave the lamp switched on unattended, and switch it off before sleeping.
Step 5: Add the Final Details
Once the lighting is installed, inspect the moon lamp carefully.
Touch up any uneven paint areas and add a few subtle grey details to make the craters stand out.
Check that the cardboard structure is stable and that the LED strip is securely attached.
If your design includes an opening or stand, make sure the lamp sits securely, and the power cable does not interfere with its placement.
Step 6: Switch On Your Moon Lamp
Your homemade moon lamp is now ready!
Connect the LED strip to its compatible power supply and switch it on. The illuminated surface, textured craters, and grey shadows will create a beautiful moon-like appearance.
Place your DIY moon lamp on a stable table, shelf, or display stand to enhance your room decor.
Tips for Making Your Moon Lamp Look Realistic
– Apply putty unevenly to create natural-looking craters.
– Use white paint as the main colour and grey paint for shadows.
– Allow the putty and paint to dry completely before installing the lights.
– Position the LED strip to distribute light evenly.
– Keep the cardboard structure dry and away from excessive heat.
– Use a compatible, low-voltage LED strip and power supply.
Conclusion
Making a moon lamp with cardboard, LED strip lights, paint, putty, and glue is a creative way to make personalised home decor. By shaping the cardboard, adding realistic crater textures, painting the surface, and installing LED lighting, you can create a decorative moon lamp that brings a touch of celestial beauty into your room.
With patience and attention to detail, you can turn simple craft materials into a unique DIY moon lamp for your bedroom, study table, or living space.